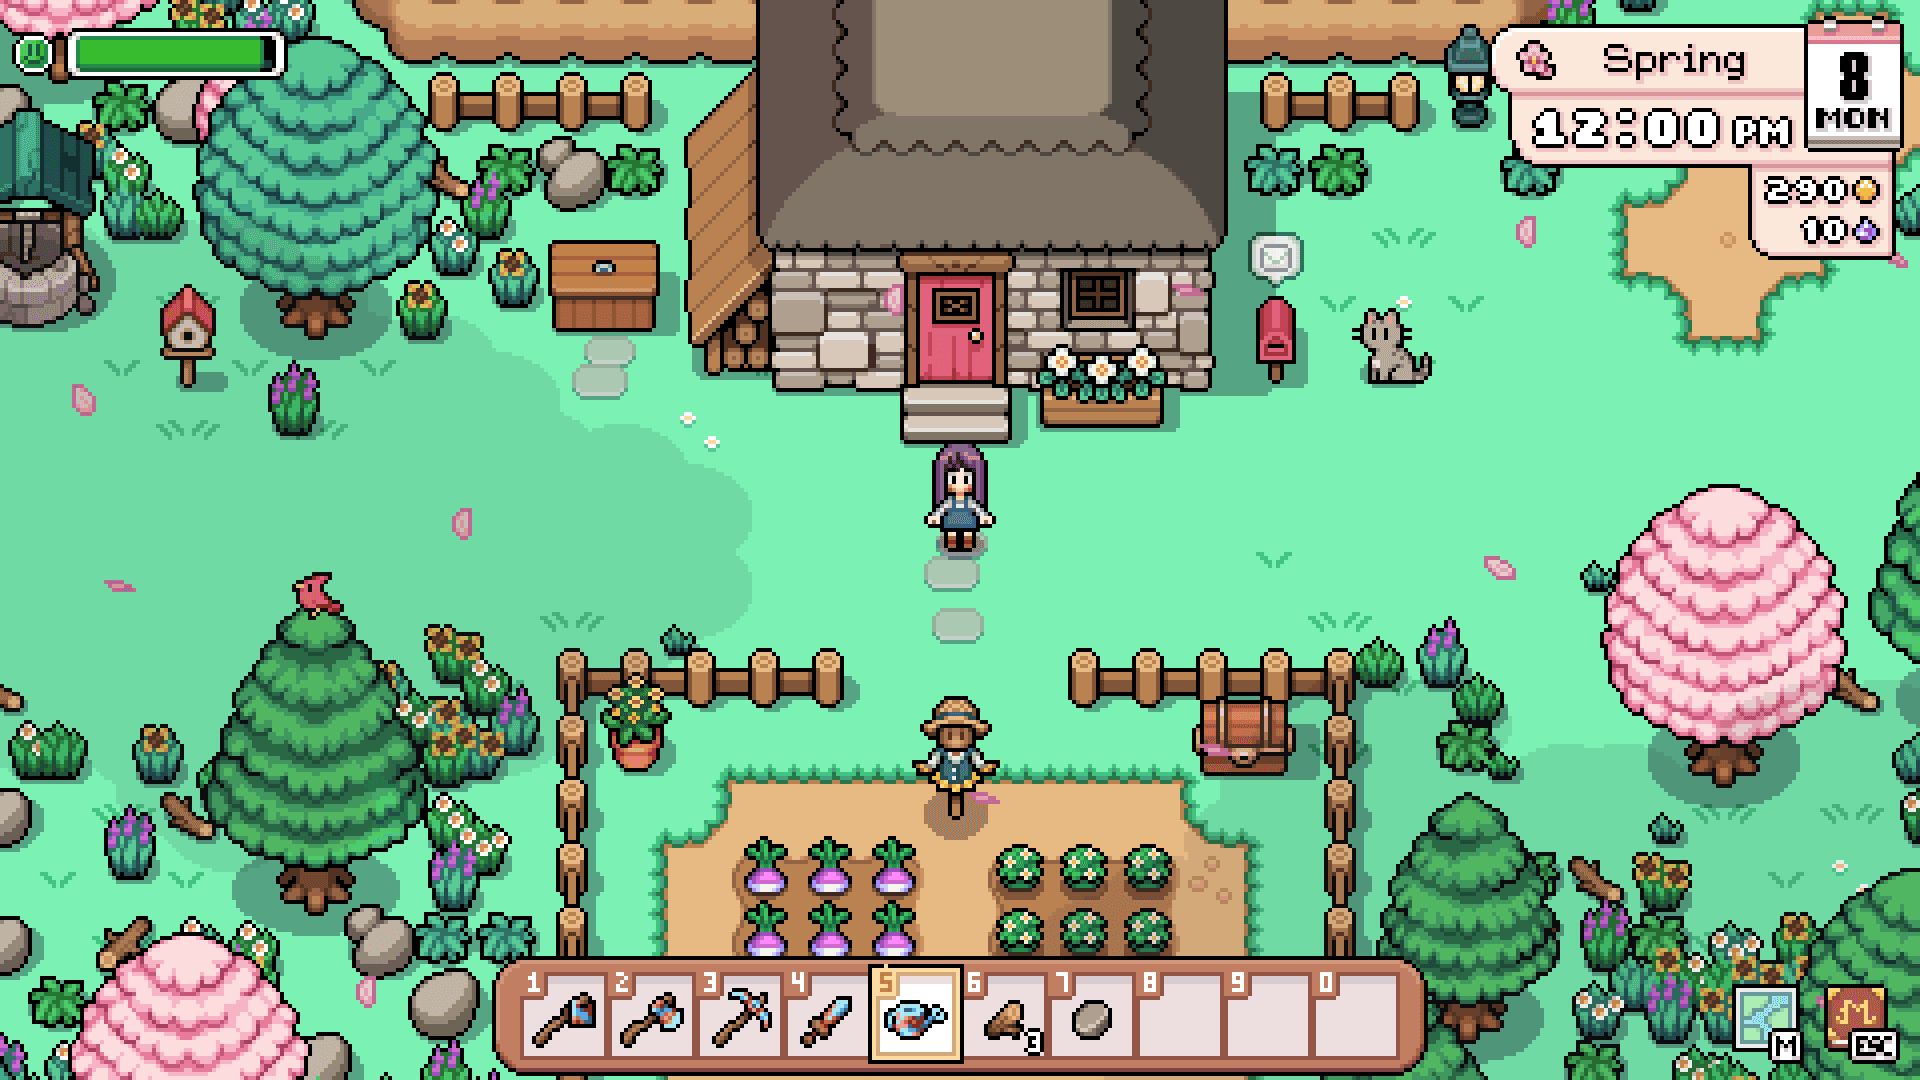
A practical Fields of Mistria farm layout starts with three measured modules: fruit trees need a clear 3x3 square each, small and large greenhouses hold 25 and 100 crop spaces, and coops or barns hold 4, 8, or 12 animals by size. Reserve those modules before you decorate, then connect them with the route you walk every day.
Copyable plans
Build from measured farm modules
Mark these modules with paths or temporary flooring first. The diagrams show a zone order, so they work around the fixed farmhouse and the open land in your own save.
Crop and orchard starter
Keep the daily crop route close to your work area, reserve a greenhouse square now, and grow an orchard as a clean 2-by-2 block.
- Reserve a 5 x 5 square for a future small greenhouse.
- Four fruit trees fit as a 6 x 6 orchard block: 4 trees x 9 tiles = 36 tiles.
- Keep the crop field and chest on the same daily path.
work routeseasonal
field5 x 5
reserve6 x 6 orchard
4 trees
Medium ranch route
Put one medium coop and one medium barn on the same service loop. This gives you a clear 16-animal capacity target before you commit the rest of the farm to decoration.
- A medium coop holds 8 small animals; a medium barn holds 8 large animals.
- Keep the animal zone beside its work chest and a direct path back to the farmhouse.
- Leave the outer edge open for a later large-building replacement.
8 slotsgrazing and
open expansion edgework chest
and path
Year-round crop focus
Use the large greenhouse as a single 10-by-10 crop room. It gives 100 growing spaces, four times the interior capacity of a small greenhouse.
- Plan the 100 greenhouse crop spaces as one production block.
- Use outdoor 3 x 3 blocks for fruit trees; fruit trees leave gaps inside a greenhouse.
- Move a greenhouse only after harvesting its current crops.
10 x 10 / 100 cropsseeds and
harvest chestmain path
Layout numbers to use before placing anything
| Module | Measured rule | Use it in the plan |
|---|---|---|
| Fruit tree | 3 x 3 clear tiles; 14 days to mature | Reserve a 6 x 6 block for four trees or a 9 x 6 block for six. |
| Small greenhouse | 5 x 5 interior growing space | Reserve it for a 25-crop year-round block. |
| Large greenhouse | 10 x 10 interior growing space | Use it as one 100-crop production room. |
| Water Sprite Statue | Waters crops within a 2-tile radius | Place the statue before hoeing the field around its watering range. |
| Coop or barn | Small: 4, medium: 8, large: 12 animals | Choose capacity first, then keep its care route beside storage. |
| Farmhouse upgrade 1 | Main room expands from 13 x 8 to 17 x 12 | Keep indoor storage and crafting together before adding side rooms. |
Start with a measured layout
Place the modules in the order shown in the blueprints: greenhouse or crop block, animal capacity, orchard, then the work path that joins them. The farmhouse stays in place, while barns, coops, and greenhouses can be removed and rebuilt elsewhere. Move a barn or coop only after transferring its animals; harvest a greenhouse before moving it because its growing crops are destroyed during the move.
If you are starting from a blank grid, sketch the farm planner in three passes. First mark the farmhouse and the route to the shipping bin, then reserve the next building upgrade, and only then fill the open rectangles with crops or decoration. A blank plan is useful because it exposes dead ends before you spend a day moving furniture. Leave one service lane beside each large building so an expansion can use the same route. This keeps a seasonal crop block flexible while you test whether the planner's visual grid matches the walkable space in your save.
Plan the orchard before decoration
Give every fruit tree its complete 3x3 clear square before you place fences, furniture, crops, water, or another tree beside it. A tidy two-by-two orchard is a 6x6 block for four trees; a three-by-two orchard is a 9x6 block for six. Fruit trees take 14 days to mature and produce three fruits every three days in season, so the block earns its place as a long-term part of the farm.
Farm planner checklist
Before saving a new layout, check five points: the farmhouse entrance remains clear, the route to the shipping bin has no dead end, each greenhouse has a full crop rectangle, every coop or barn has room for its planned capacity, and the orchard keeps its 3x3 tree squares open. Mark these checks on a blank planner grid before placing fences or furniture. If one check fails, move the zone that causes the blockage while the farm is still mostly empty. This keeps the next expansion from forcing a complete rebuild.
Match field size to your watering plan
Put a Water Sprite Statue down before you hoe the final crop block. Each statue waters crops in a two-tile radius when powered with an Essence Stone, so the statue belongs at the center of the field it will serve. Keep a seed-and-harvest chest on the field edge and let the main path reach that chest before it reaches decorative space.
Choose animal capacity before placing the ranch
Small, medium, and large coops each house 4, 8, and 12 small animals. Barns use the same 4, 8, and 12 capacity steps for large animals. Pick the capacity target first, place the building beside its service path, and keep one side open when you plan to replace it with a larger version. The medium ranch blueprint pairs an 8-slot coop with an 8-slot barn for 16 total animal slots.
Use the animal directory when you are ready to compare housing costs, animal prices, products, and breeding requirements.
Use greenhouses as complete crop rooms
Small greenhouses hold a 5x5 growing area, while large greenhouses hold a 10x10 growing area. Treat the large greenhouse as a 100-crop room and keep fruit trees outdoors: each tree uses 3x3 space and leaves gaps inside the greenhouse. Group the greenhouse with seed storage and a direct route to the shipping bin for the shortest harvest loop.
Test the route before decorating
Walk one full farm day after you mark the zones: collect animal products, water or harvest crops, use the work chest, and reach the shipping bin. Keep only the routes that make that loop shorter. Add fences, lighting, and furniture after the route works, so every decorative choice supports the plan instead of blocking it.
Build around the jobs you repeat
The best layout is a work map, not a screenshot. Put the buildings you visit every morning close to one another, then place low-frequency decoration in the spaces left over. A crop chest beside the field, an animal chest beside the coop or barn, and a shipping route that does not cross the farmhouse entrance remove small delays from every day. Those seconds add up when you are trying to reach town, the mines, or a weather-dependent fishing spot before the day ends.
Leave a service lane around buildings even when the current upgrade is small. A larger coop, barn, or greenhouse changes the footprint, and a lane gives you room to rebuild without deleting a working field. Keep fences and furniture one step away from doors and interaction points until you have tested the route. If a decoration blocks a door, move the decoration; do not redesign the entire farm around a single object.
Use the blueprints as starting points
The blueprints show measured modules, but they are not mandatory templates. Copy the spacing that solves your problem, then rotate or mirror the module to match your farmhouse and the path to town. If you keep animals near the route to the shipping bin, place the orchard and greenhouse on the opposite side so harvest and care tasks do not compete for the same tiles. When you add a new room, connect it to an existing path instead of creating a second dead-end walkway.
Review the farm after each upgrade
Farmhouse and building upgrades are good moments for a layout review. Count the crop tiles you can water, the animal slots you can care for, and the storage distance from each work zone. Remove only what you need, move buildings before decoration, and check the next season's planting plan before filling every open tile. The farm references in Further reading help confirm the current building rules, while the Mistria Planner lets you test a grid before committing in game.
Four layout decisions that keep a save flexible
The most reliable farm layouts separate permanent decisions from seasonal ones. Treat the farmhouse entrance, shipping route, and building service lanes as permanent. Treat crop rows, decorative paths, and spare furniture as seasonal pieces that can move when your next harvest or upgrade changes the shape of the farm. This distinction prevents the common mistake of building a beautiful entrance and then discovering that the only practical route to the shipping bin cuts straight through it.
1. Keep one central work spine
Draw a single path from the farmhouse toward the shipping bin, then branch it once toward the ranch and once toward the crop rooms. The spine is easy to remember during a rushed morning, and it gives every future building a connection point. Put a chest at each branch rather than scattering storage around the whole map. A seed chest beside crops, an animal-product chest beside the coop or barn, and a materials chest near the building lane each remove a return trip without turning the farm into a maze.
2. Use a dedicated orchard block
Fruit trees are long-term investments, so give them the cleanest fixed block on the farm. A 6x6 block supports four trees in a two-by-two arrangement; a 9x6 block supports six trees in three rows of two. Leave the walking edge open until every tree has matured and produced once. If a fence or lamp looks attractive beside a sapling, place it outside the 3x3 clear square. That small amount of restraint keeps the orchard productive and avoids moving mature trees later.
3. Reserve upgrade space beside animals
Choose the capacity you want before you place the coop or barn. A small, medium, or large building represents 4, 8, or 12 animal slots, and the footprint changes when you upgrade. Keep one service lane beside the building and leave the door side free of decorative objects. When the next upgrade becomes available, you can move the building into the reserved space, transfer the animals safely, and keep the rest of the ranch working. This is faster than deleting fences and rebuilding a whole corner of the farm.
4. Make greenhouse rooms self-contained
Plan the greenhouse as a complete room, not as an empty shell that you fill later. A small greenhouse has a 5x5 growing area and a large greenhouse has a 10x10 area, so place the crop chest and statue route where they can serve the entire rectangle. Keep fruit trees outdoors and use greenhouse tiles for crops that benefit from a predictable, compact watering loop. When a season changes, you can swap seeds in the same room without changing paths, fences, or storage.
Test the layout with a real morning
After marking the modules, play one ordinary farm day before decorating. Collect animal products, water or harvest the main field, refill the work chest, and walk to the shipping bin. Notice where you pause, turn around, or open the wrong chest. Those moments are evidence that a path or storage point needs to move. Test again after the next building upgrade and at the start of a new season. A layout that survives those two checks will feel faster every day, while a screenshot-only layout often hides the detours that make routine work tiring.
Video walkthrough
Fields of Mistria - 10 Best Farm Layout Tips! by Cozy With Toxi is a visual companion for zoning buildings, crops, paths, and decoration. Use it for inspiration, then test the workflow in your own save.